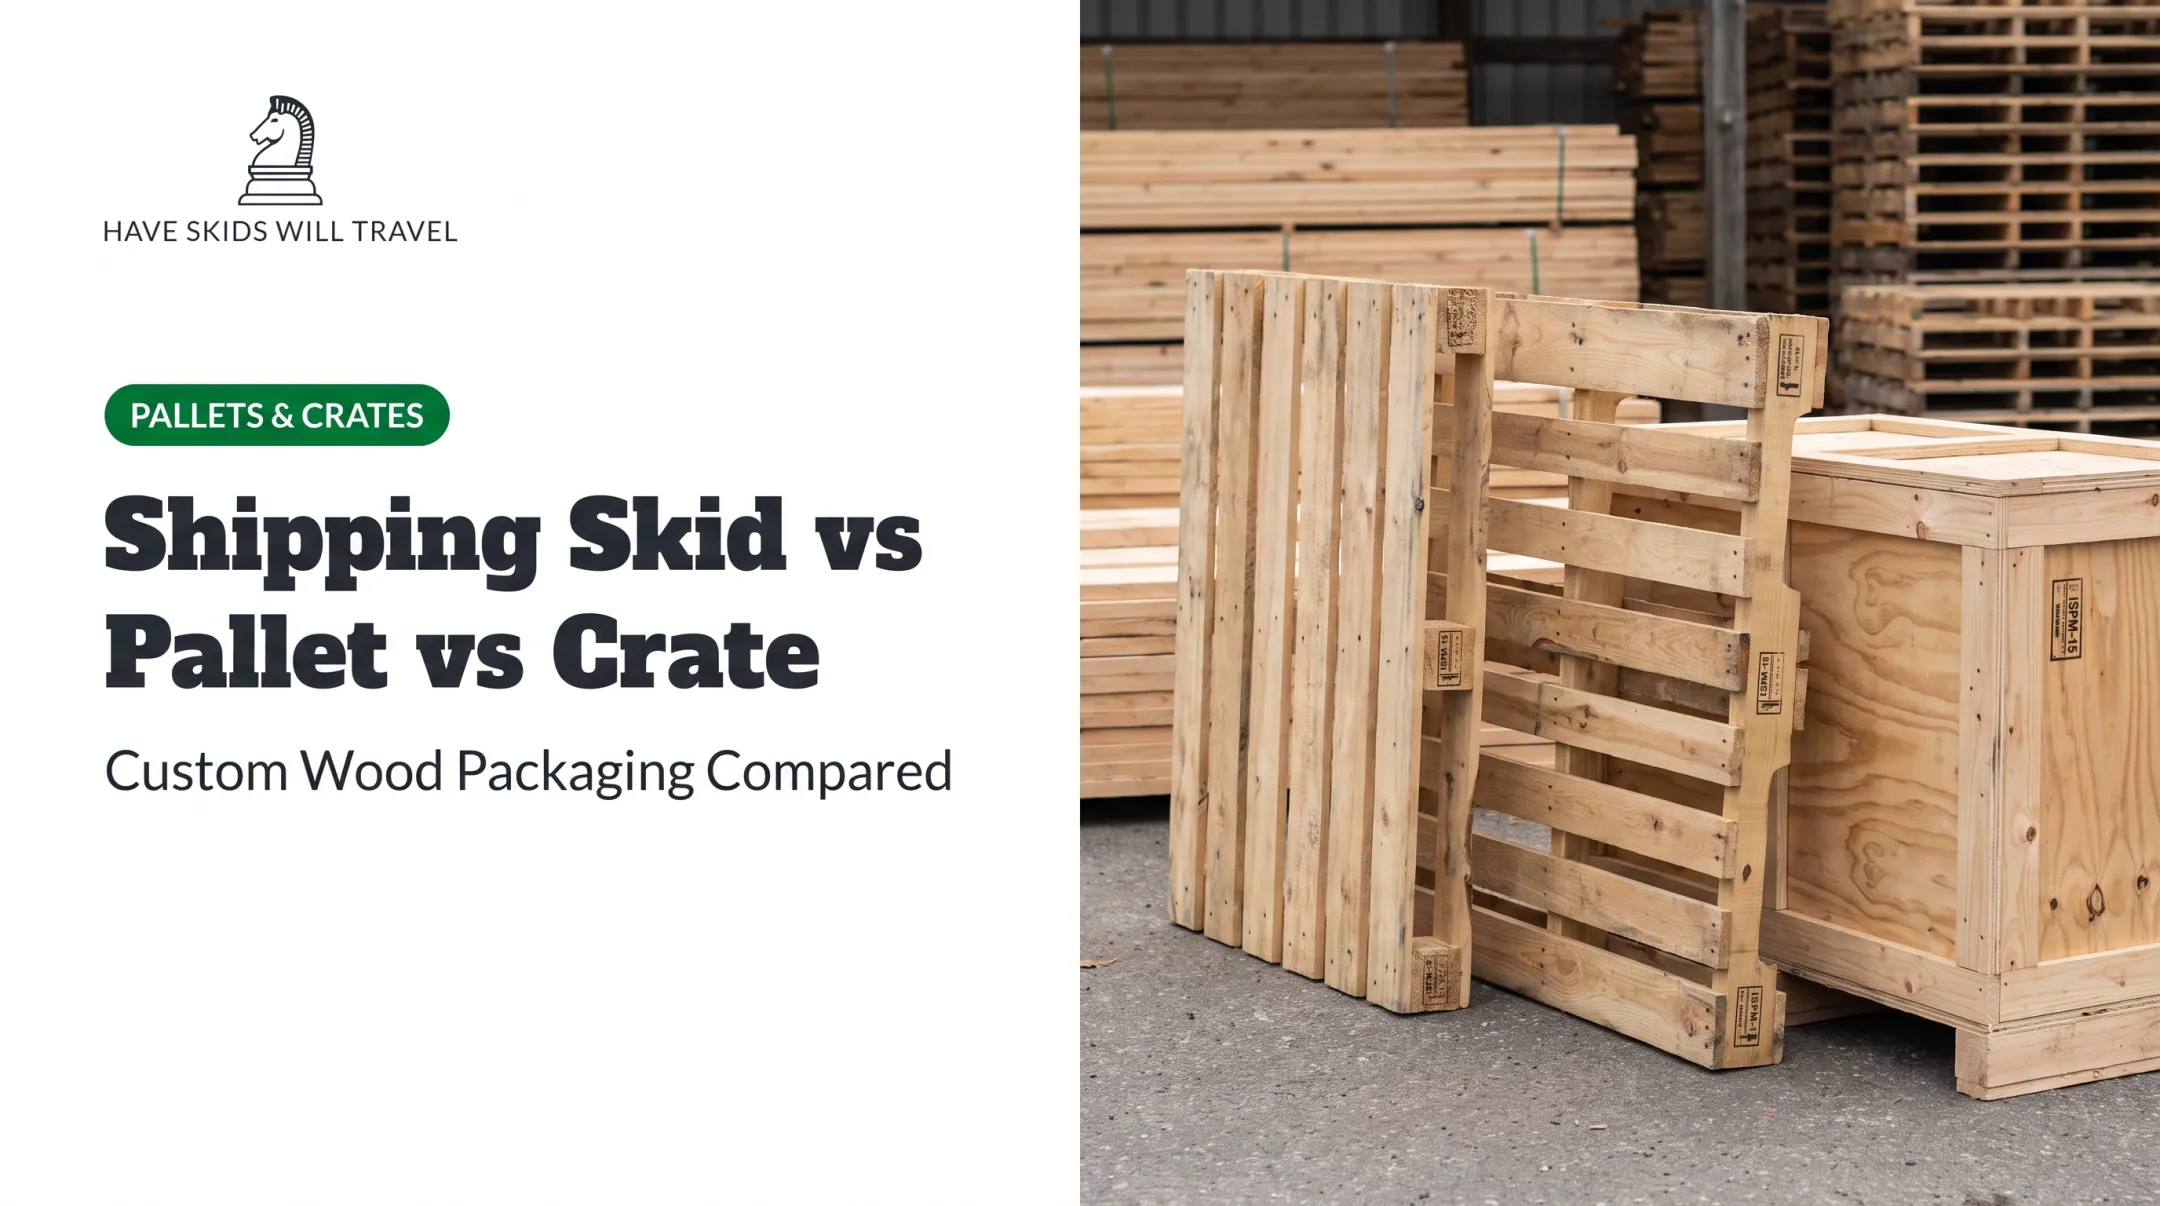

Building one sounds simple, and it can be. But results vary a lot depending on the lumber you pick, how you space your fasteners, and what load you're actually asking the thing to carry. A skid built from warped 2x4 scraps with nails jammed too close to the edge won't survive a season, let alone a shipment.
This guide walks through what a skid actually is, when it makes sense to build your own versus buy one, the exact steps to build it right, the parameters that determine strength, common mistakes to avoid, and when a custom manufactured pallet is the smarter call.
TL;DR
- A skid is a single-deck platform with stringers and deckboards, no bottom deck like a standard pallet
- Build success depends on lumber selection, accurate cuts, correct fastener spacing, and load testing
- DIY skids suit light, one-time, or low-volume use; recurring shipments need purchased or custom pallets
- Wood type, board spacing, stringer size, and nail pattern determine strength and lifespan
How to Build a Skid
Step 1: Plan Dimensions and Load Requirements
Start with the footprint you need and the maximum weight the skid must carry. Both numbers drive everything downstream.
- Measure your product's footprint and add clearance for forklift or pallet jack forks
- Decide stringer count and spacing based on expected load — heavier loads need more support
- Check whether you need ISPM-15 export compliance or food-grade handling standards before you start
Skipping this step is the number one reason DIY skids fail early. A design sized for a 200-pound load won't hold 800 pounds no matter how well you nail it.
Step 2: Gather Lumber and Tools
Your material choices determine strength more than any other single factor.
- Stringers: typically 4x4 lumber, though size should match your actual load
- Deckboards: 1x4 or 1x6 lumber, the standard sizes cited in a USDA Forest Service study on pallet parts
- Wood treatment: pressure-treated for outdoor or damp use, kiln-dried for indoor, dry environments
- Tools: saw, tape measure, framing square, and a nail gun or hammer with 2-3 inch nails or screws
Inspect every board before cutting. Reject anything with cracks, loose knots, or visible warping — these weaknesses only get worse under load.
Step 3: Cut and Lay Out Stringers
Cut your stringers to match the skid's width, then lay them parallel on a flat surface.
- A three-stringer layout is common for standard-size skids—one centered, two near the edges
- Space stringers evenly based on your load calculation from Step 1
- Square the layout with a framing square before you drive a single fastener
A layout that's out of square will telegraph into every board you attach afterward, leaving you with a skid that rocks or binds against equipment.
Step 4: Attach Deckboards
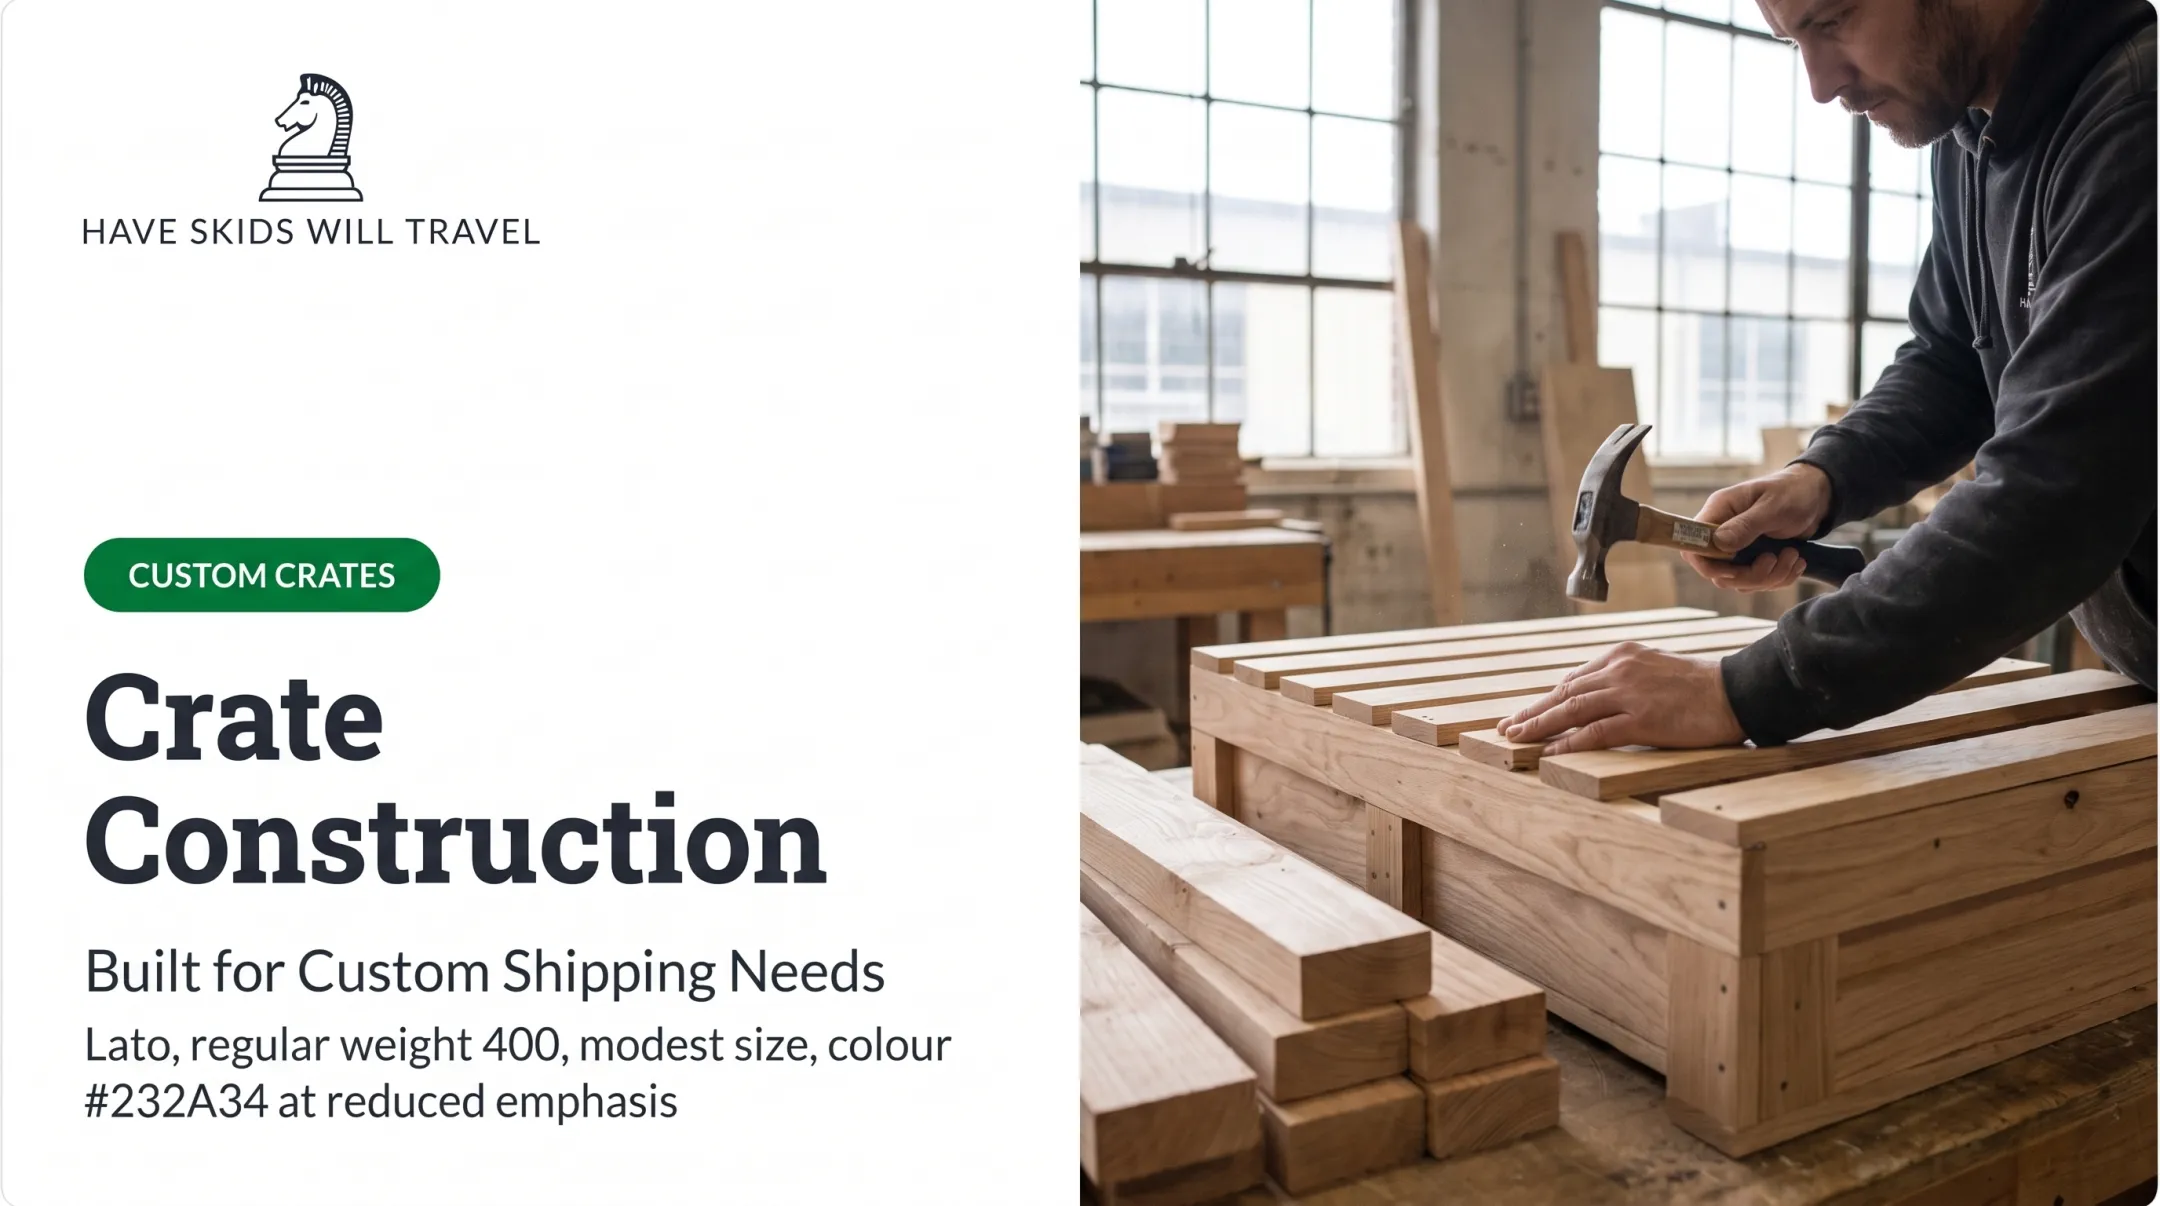
Cut deckboards to the skid's length and lay them across the stringers.
- Leave small gaps between boards for airflow and drainage
- Nail or screw each board to every stringer it crosses
- Keep fasteners at least 3/4 inch from board edges to avoid splitting
- Check for level, square corners, and secure fastening before putting the skid to work
According to Virginia Tech's summary of the NWPCA Uniform Standard, nails should penetrate at least 1 1/4 inches on deckboards thicker than 1/2 inch. Use at least two nails per board on narrower boards and three on wider ones.

Undersized fasteners are one of the fastest ways to end up with loose, failing boards.
When Should You Build Your Own Skid?
DIY skids make sense for occasional, in-house use: not recurring commercial shipping. Good use cases:
- One-off storage projects around the shop or warehouse
- Farm or job-site use where the skid never leaves the property
- Moving heavy equipment short distances When building becomes risky:
- Volume increases and labor costs start outweighing the savings
- Export shipments require ISPM-15 heat treatment
- Consistent load ratings matter for worker or product safety For businesses shipping regularly, sourcing from a manufacturer solves the consistency problem. Palleton designs custom pallets and skids around the actual product, load weight, and handling method, then builds to that spec. That includes ISPM-15 heat treatment for export, where the wood core reaches 140°F for a minimum of 30 minutes—and it frees labor that would otherwise go into repeated DIY assembly.

What You Need Before Building a Skid
Lumber quality and fastener choice directly determine how much weight a skid can safely hold. Get these wrong and no amount of careful cutting will save the build.
Lumber and Materials
- Pressure-treated or kiln-dried stringers, sized to the intended load
- Deckboards matched to stringer length and load rating
- Enough stock for your layout, plus a spare board for miscuts
Tools and Fasteners
- Circular saw or handsaw for square cuts
- Framing square and tape measure
- Nail gun or hammer
- Corrosion-resistant nails or screws sized to board thickness
Safety Considerations
- Inspect boards for protruding nails, splinters, and cracks before you cut
- Assemble on a stable, flat surface — an uneven bench produces an uneven skid
- Wear eye protection and gloves when cutting and fastening
Key Parameters That Affect Skid Strength
A handful of variables determine whether your skid holds up or falls apart.
| Parameter | Why It Matters | Impact If Wrong |
|---|---|---|
| Stringer size & spacing | Thicker stringers and tighter spacing distribute weight evenly | Sagging or board failure under load |
| Deckboard thickness & gap | Thicker boards resist cracking; gaps allow drainage | Thin, tightly packed boards warp or rot faster |
| Fastener type & placement | Correct size and edge distance prevent splitting | Loose boards, early failure |
| Wood type & treatment | Treated lumber resists rot, pests, moisture | Untreated wood deteriorates fast outdoors |
Kiln-drying and pressure treatment solve different problems. Kiln-drying controls moisture and shrinkage. Pressure treatment protects against decay and pests.
The AWPA's Use Category framework notes that wood treated only for above-ground exposure may not hold up in ground contact. Match your treatment to where the skid will actually sit.

Common Mistakes When Building a Skid
Most skid failures trace back to a handful of repeat offenders:
- Using undersized or warped lumber that can't handle the intended load
- Spacing stringers too far apart, causing deckboards to sag or crack
- Placing nails too close to board edges, which splits the wood
- Skipping load testing before putting the skid into regular use
That last one matters more than people expect. A quick, controlled test with a representative load (checking for deflection, splitting, or fastener pull-through) tells you far more than a visual check. Don't assume the build will hold just because it looks solid.
Alternatives to Building Your Own Skid
For businesses with ongoing shipping needs, buying pre-built or custom pallets saves time and cuts risk.
Standard Pallets
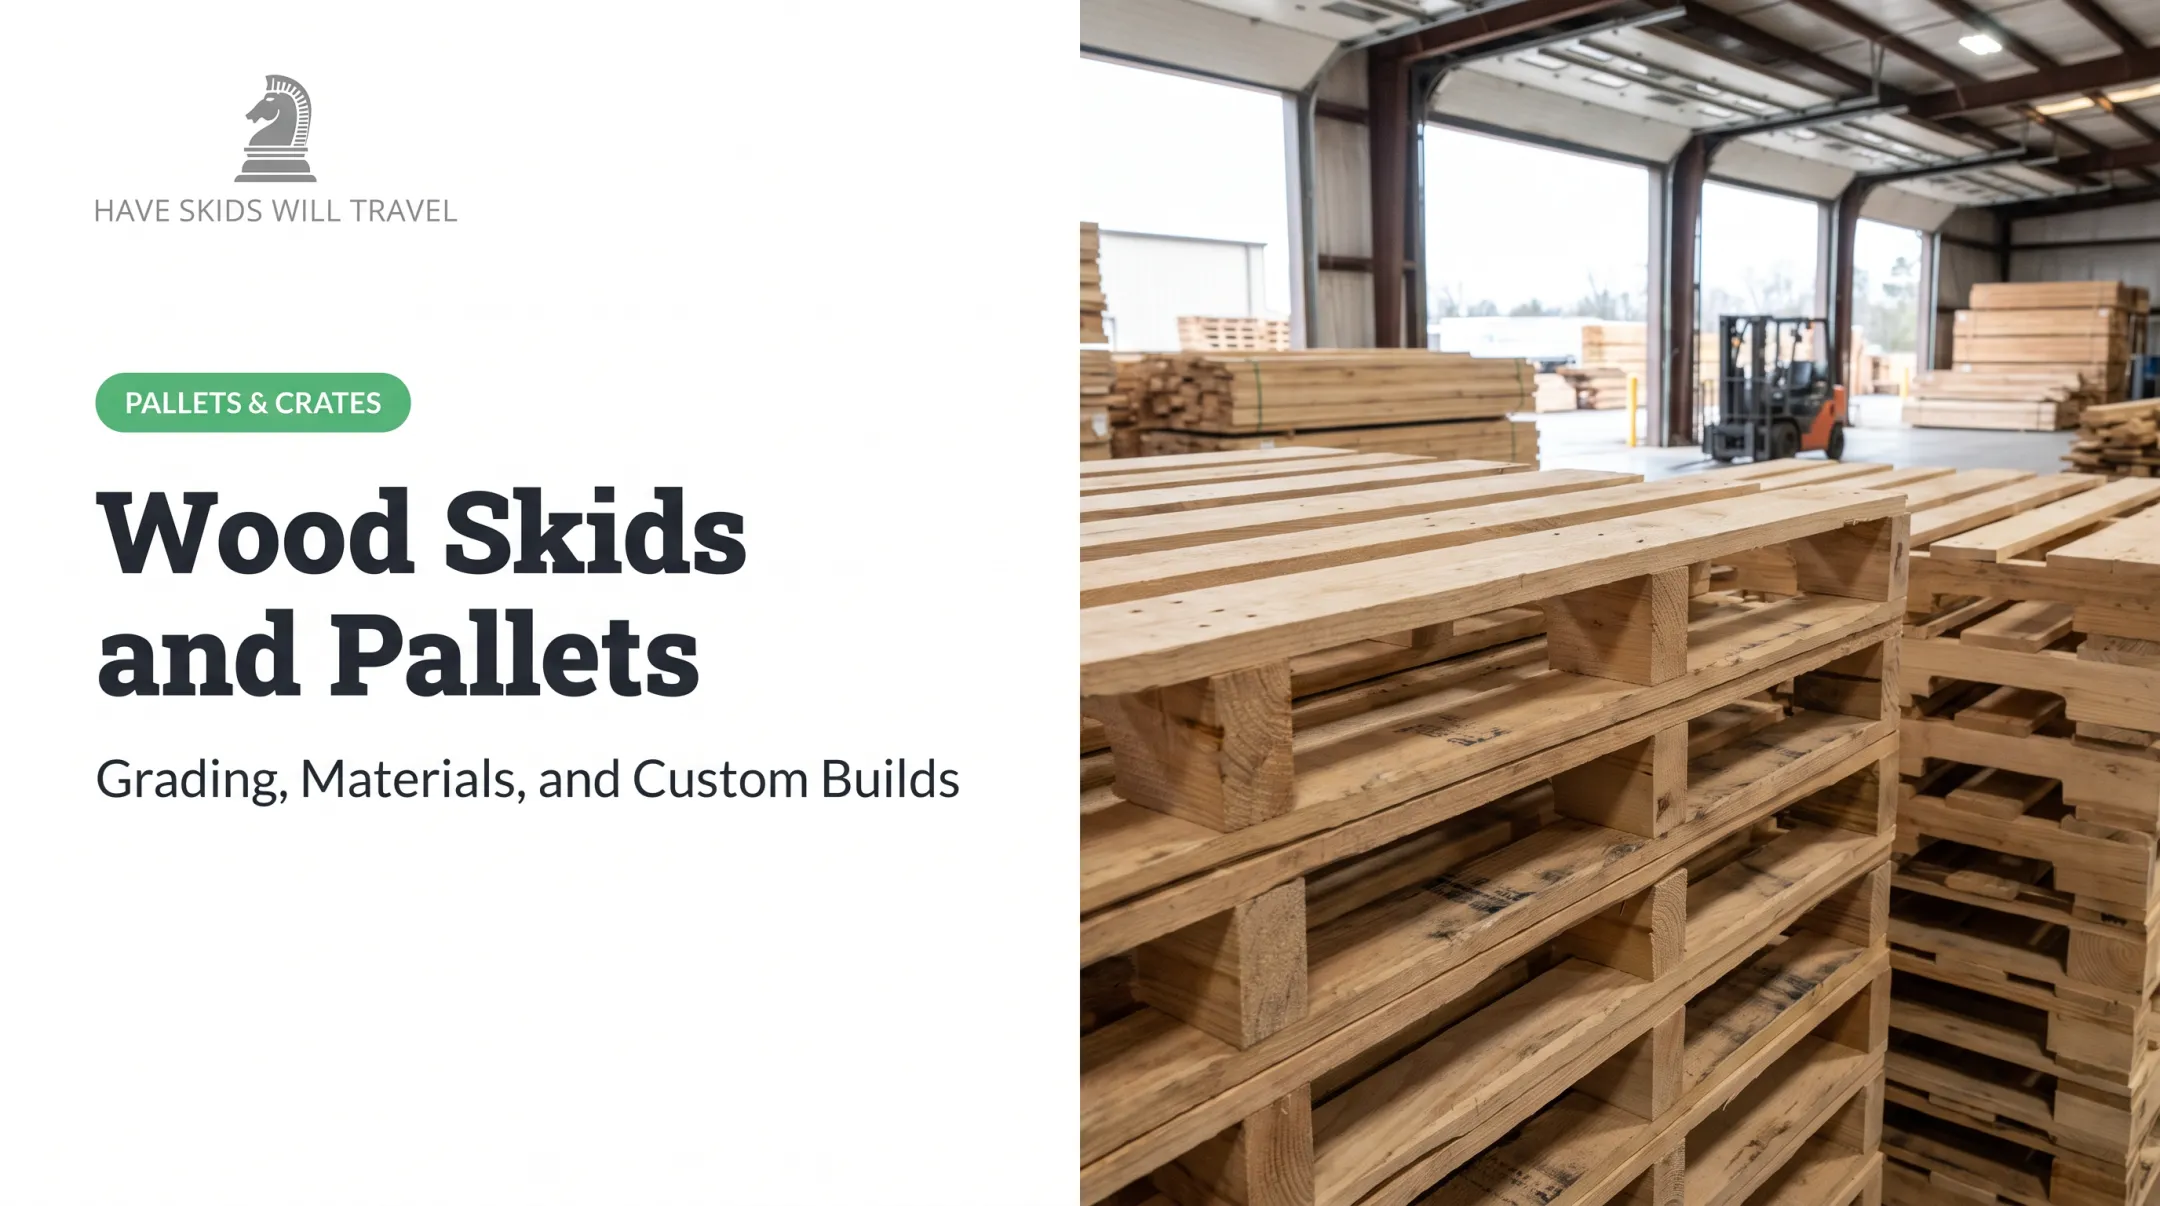
Choose these for general warehouse use that needs bottom-deck support and forklift compatibility. Palleton's standard 48x40-inch GMA pallets come in new hardwood, new softwood, combo, and 100% recycled options. They cost more upfront than a skid, but they are far more durable and stable for stacking.
Custom-Built Pallets and Crates
These fit unique load sizes, export requirements, or fragile products that need tailored protection. Palleton's custom build process:
- Review product dimensions, load weight, and handling method
- Design specifications sized to the load, without over- or under-building
- Provide drawings and samples for approval
- Build with new, combination, or recycled lumber based on performance and cost targets

Working with a manufacturer locks in right-fit sizing and consistent quality, plus ISPM-15 certification when export compliance is required.
Recycled or Combination Pallets
Cost-conscious operations often prefer this sustainable, budget-friendly route. Appearance may vary pallet to pallet, but savings on total pallet spend can be significant at volume.
Conclusion
Building a basic skid is entirely doable with the right lumber, tools, and attention to spacing and fasteners. Most failures come from cutting corners on wood quality or fastener placement.
For one-off, in-house use, a DIY skid gets the job done. For recurring or higher-stakes shipping, a custom-built skid from an experienced manufacturer like Palleton usually costs less over time than repeated DIY builds—and holds up more consistently under load.
Frequently Asked Questions
What is a skid?
A skid is a simple, single-deck platform made of stringers and deckboards, used to elevate and move goods. It differs from a standard pallet by lacking a bottom deck.
What do skids look like?
A skid looks like a flat wooden platform with parallel stringers under spaced deckboards, essentially an open-frame pallet without the bottom layer.
How much weight can a homemade skid hold?
It depends on lumber size, stringer spacing, and fastener quality. Test with a representative load before relying on it for regular use.
What's the difference between a skid and a pallet?
A pallet typically has both top and bottom decks for added strength and stackability. A skid has only a top deck.
Can I use a skid for shipping products?
Basic skids work for light or local shipping. Export or heavy-duty shipments generally need ISPM-15 heat-treated, custom-built pallets.
How long does a wooden skid typically last?
Lifespan depends on wood treatment and environment. Treated lumber kept dry and inspected regularly lasts longer than untreated wood exposed to moisture.